

Setting up a 46-inch flexible touch panel for multiple users can be a rewarding experience, especially when it comes to enhancing collaboration and interaction in various settings such as classrooms, boardrooms, and interactive kiosks. As a 46-inch flexible touch panel supplier, I've witnessed firsthand the transformative power of these devices. In this blog post, I'll guide you through the process of setting up a 46-inch flexible touch panel for multiple users, ensuring a seamless and efficient installation.
Step 1: Choose the Right Location
The first step in setting up a 46-inch flexible touch panel for multiple users is to select the appropriate location. Consider the following factors:
- Visibility: Ensure that the panel is visible to all users. Mount it at a height and angle that allows everyone in the room to view the screen comfortably.
- Accessibility: Make sure that the panel is easily accessible to all users. Avoid placing it in areas with obstacles or limited space.
- Lighting: Minimize glare and reflections on the screen by choosing a location with appropriate lighting. Avoid direct sunlight or bright lights shining on the panel.
Step 2: Prepare the Mounting Surface
Once you've chosen the location, it's time to prepare the mounting surface. Follow these steps:

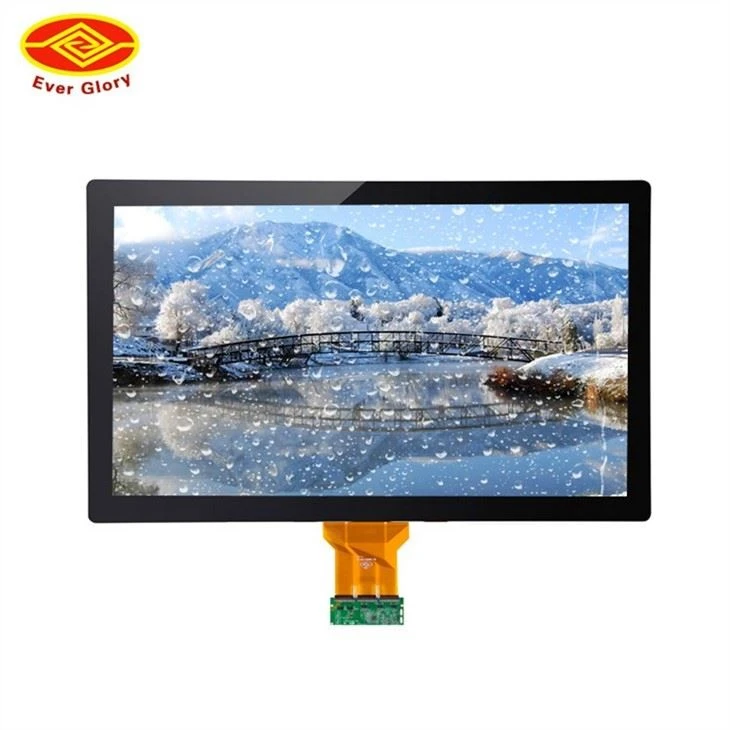
- Clean the Surface: Use a clean, dry cloth to remove any dust, dirt, or debris from the mounting surface.
- Check for Level: Use a level to ensure that the mounting surface is flat and level. This will prevent the panel from tilting or wobbling.
- Mark the Mounting Holes: Refer to the installation instructions provided with the panel to mark the location of the mounting holes on the surface. Use a pencil or marker to make the marks.
Step 3: Mount the Panel
Now that the mounting surface is prepared, it's time to mount the panel. Follow these steps:
- Attach the Mounting Bracket: Use the provided screws or bolts to attach the mounting bracket to the panel. Make sure the bracket is securely fastened.
- Align the Panel: Carefully align the panel with the mounting holes on the surface. Use a level to ensure that the panel is straight and level.
- Secure the Panel: Use the provided screws or bolts to secure the panel to the mounting surface. Tighten the screws or bolts evenly to prevent the panel from warping or cracking.
Step 4: Connect the Power and Data Cables
After mounting the panel, it's time to connect the power and data cables. Follow these steps:
- Power Cable: Connect the power cable to the panel and plug it into a grounded electrical outlet. Make sure the power switch on the panel is in the "Off" position before connecting the cable.
- Data Cable: Connect the data cable to the panel and the source device, such as a computer or media player. The type of data cable required will depend on the input ports available on the panel and the source device. Common data cables include HDMI, DisplayPort, and VGA.
Step 5: Configure the Panel Settings
Once the panel is connected to power and data, it's time to configure the panel settings. Follow these steps:
- Turn on the Panel: Switch on the power switch on the panel to turn it on. Wait for the panel to boot up and display the home screen.
- Adjust the Display Settings: Use the on-screen menu or the remote control to adjust the display settings, such as brightness, contrast, color temperature, and resolution. Make sure the settings are optimized for the viewing environment and the content being displayed.
- Calibrate the Touch Screen: If the panel has a touch screen, it's important to calibrate it to ensure accurate touch input. Follow the calibration instructions provided with the panel to calibrate the touch screen.
Step 6: Set Up Multi-User Functionality
To enable multi-user functionality on the 46-inch flexible touch panel, you'll need to configure the software and settings. Here are some general steps to follow:
- Install the Multi-User Software: Depending on the panel's capabilities and the intended use, you may need to install multi-user software on the source device. This software allows multiple users to interact with the panel simultaneously.
- Configure the User Accounts: Create user accounts for each user who will be using the panel. You can set different levels of access and permissions for each user account.
- Test the Multi-User Functionality: Once the software and user accounts are set up, test the multi-user functionality by having multiple users interact with the panel at the same time. Make sure the touch input is accurate and responsive for all users.
Step 7: Provide Training and Support
Finally, it's important to provide training and support to the users of the 46-inch flexible touch panel. Here are some tips:
- User Manual: Provide users with a copy of the user manual for the panel and the multi-user software. The user manual contains detailed instructions on how to use the panel and its features.
- Training Sessions: Conduct training sessions for the users to familiarize them with the panel and its functionality. Demonstrate how to use the touch screen, navigate the on-screen menu, and access the multi-user features.
- Technical Support: Provide users with access to technical support in case they encounter any issues or problems with the panel. This can include phone support, email support, or online resources.
Conclusion
Setting up a 46-inch flexible touch panel for multiple users requires careful planning, preparation, and installation. By following the steps outlined in this blog post, you can ensure a successful installation and provide a seamless and efficient user experience. If you're interested in purchasing a 46-inch flexible touch panel or need further assistance with the installation process, please [contact us for procurement and negotiation]. We're here to help you make the most of your touch panel investment.
References
- Manufacturer's installation instructions for the 46-inch flexible touch panel.
- User manual for the multi-user software.
- Industry best practices for setting up large touch panels.
Additional Resources
- 42 Inch Touch Panel: Explore our range of 42-inch touch panels for various applications.
- 49 inch hdmi display raspberry pi: Discover our 49-inch HDMI displays compatible with Raspberry Pi for educational and interactive use.
- panel touch screen monitor: Check out our 55-inch large waterproof touch screen monitors for outdoor and industrial applications.